

Overhauling the content of my portfolio site with Sanity


Hey there! I’m Jaden, and you can find me at jaden.baptista.dev.
I’ve gained a little bit of a following recently for the design of that portfolio site actually — it seemed to resonate with a lot of people:
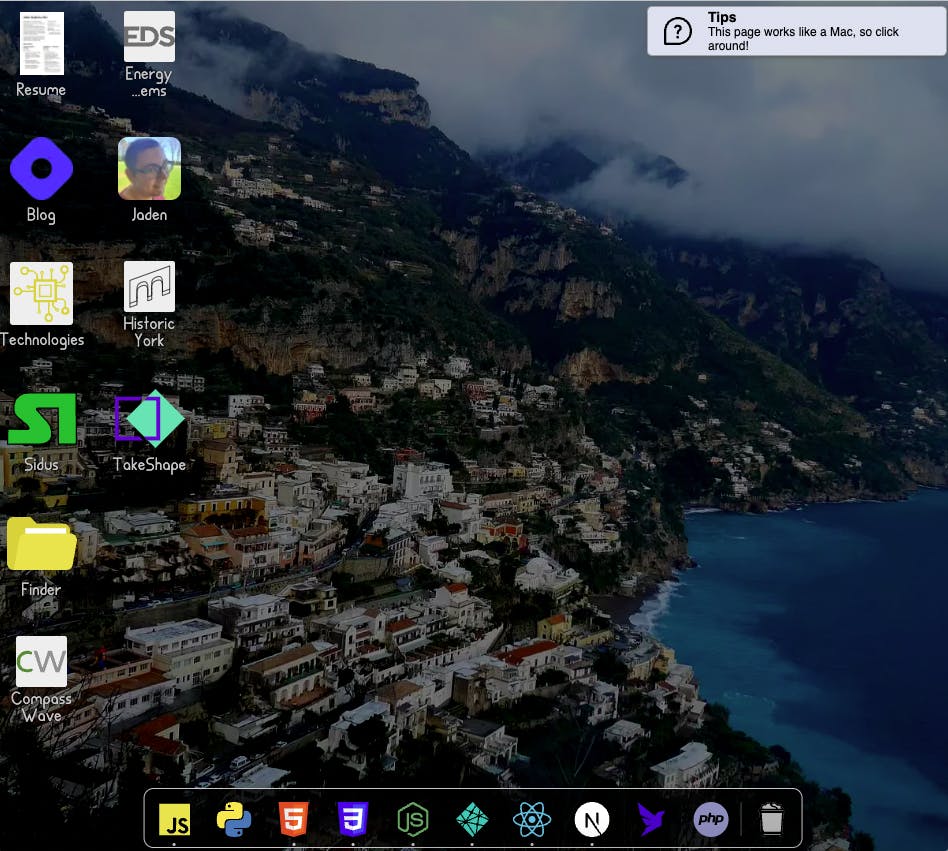
The Mac interface is already well-known and (mostly) well-loved, so I thought it was an interesting choice for inspiration.
I hadn’t seen anybody do something like this before, and as I began development, I realized why. The GUI simply wasn’t designed in simple HTML components... there’s not an <input> or a <ul> to be found anywhere. Naturally then, I turned to React and Next.JS to help me organize everything, so I could take each piece one at a time and just reuse it as a React component later on. The <AppIcon> component, for example, ended up being a lifesaver — there’s 21 of them displaying on that screenshot alone.
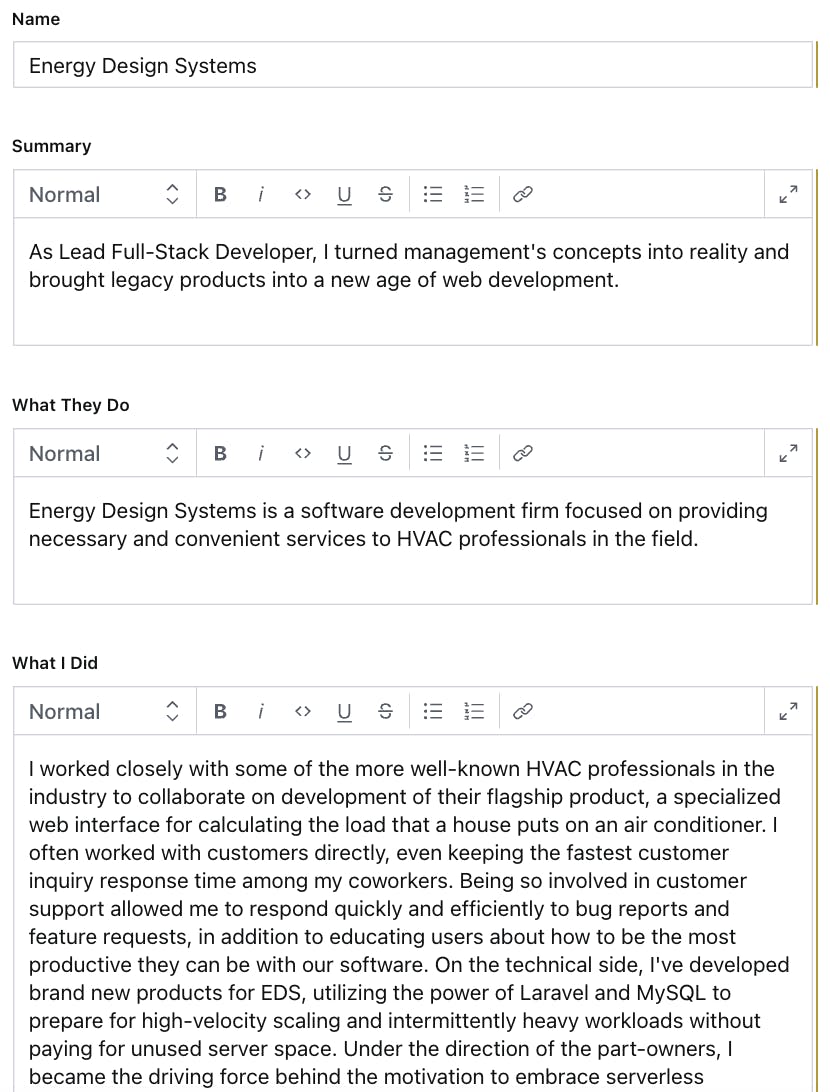
Recently I set out to add search to the finder with Algolia, and I realized that I focused so much on how “cool” the UI was that I completely forgot about organizing the site’s content. It’s riddled with // TODOs and outdated information, and it’s a pain to edit because it looks like this:
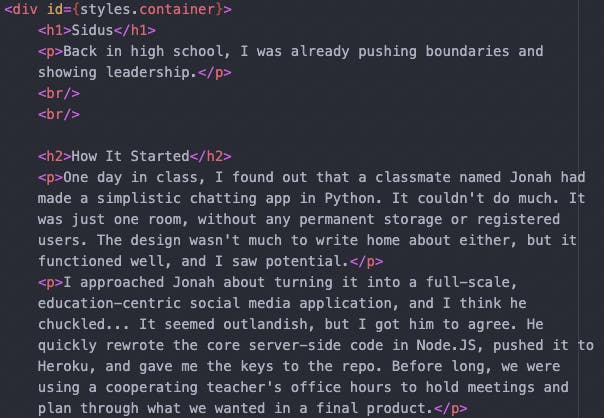
Recently I showed this to the folks at Sanity, and we all agreed it needed to be fixed. It’s 2022; nobody should have to write break tags by hand anymore. So before I can actually implement searching through this content, I need to organize it. Let’s explore how I approached this problem, starting with the content model.
Creating a content model
Great question! There are a couple different ideas on this, and it’s a generic enough term to be used practically everywhere, but in the content of this site, I’m going to use the definition from GatherContent:
A content model documents all the different kinds of content you have on your website. It breaks content types down into their component parts, describes them in detail, and maps out how they relate to one another.
That’s a straightforward enough explanation, but I wanted to simplify it a step further so it’d be more concrete in my mind. I’m going to ask and answer two questions about the content on my site:
What high-level types of things are on my site?
This one was thought-provoking. At first, I was thinking just one: “Page”. Once I dove deeper though, I realized that a lot of those icons all lead to different types of pages. I display them similarly, but fundamentally, there are four high-level things on my site:
- Pages that lead to external URLs being pulled up in a new “browser window”
- Document downloads, like my resume
- Technologies that I can work with (like Python or Fauna)
- Projects that I’ve worked on
These four types of content cover just about everything on the site.
What defines these types of content?
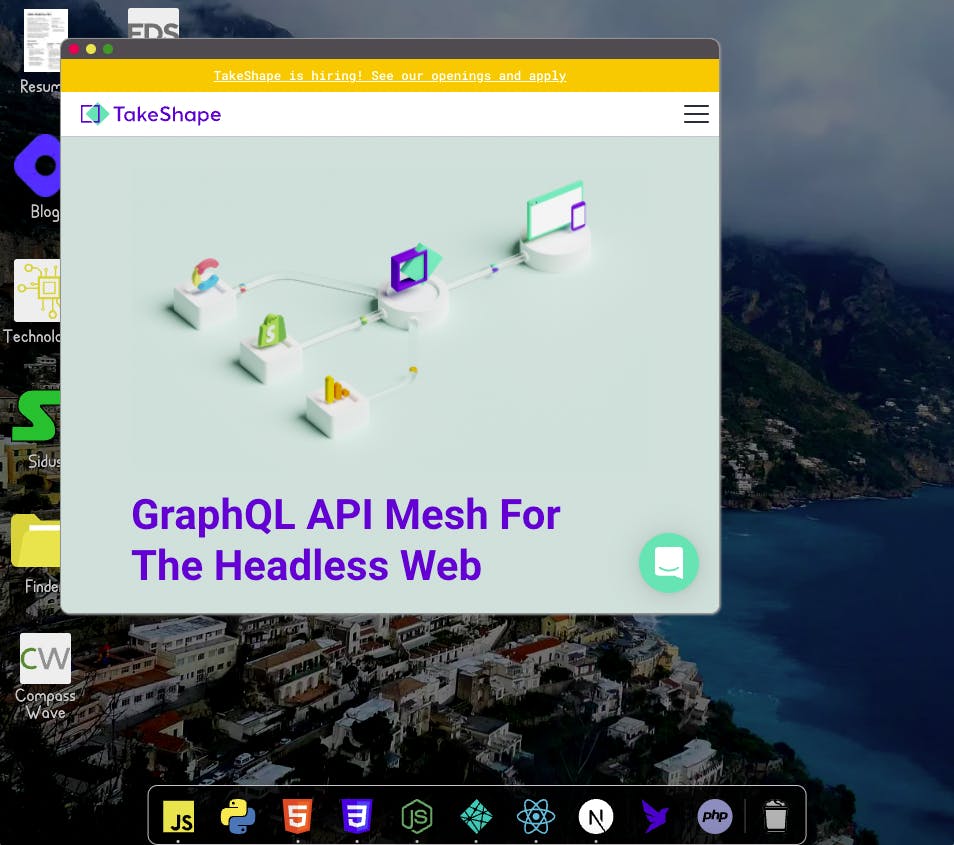
- For the browser window thing, it’s just defined by a URL, the name of the site that we’re opening (”TakeShape” for the screenshot above), and sometimes an icon (like for my blog on the Desktop).
- All the document download needs is the actual document to download, a title, and a thumbnail.
Each technology that I can work with is represented with just a title, a paragraph on the topic, and often an icon representing it:
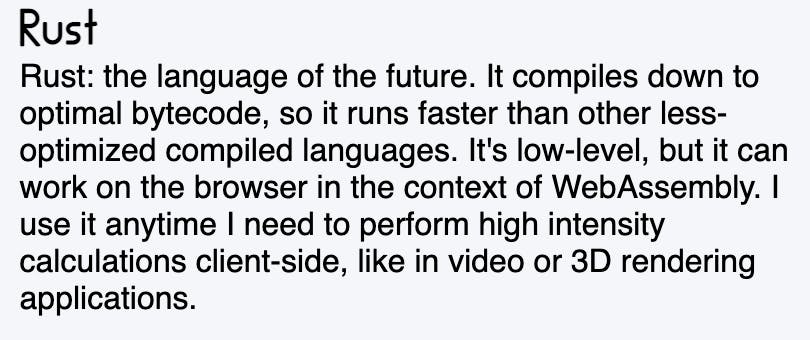 The content is unimportant, but the point is that it contains a heading and a paragraph.
Each project that I’ve worked on has a few attributes in addition to the typical name and icon, namely an intro, what the company does, and what I did there.
 The important details are the name of the company as a top-level heading, a short summary, a paragraph about what the company does, and a longer rich-text section about what I did with them.
Implementing our content model
To integrate Sanity into my existing project, I had to install the libraries first and initialize the project.
npm install -g @sanity/cli
npm install next-sanity @portabletext/react @sanity/image-url
sanity init
That last command will step you through a whole process to create a new folder specifically for Sanity config and logic. I named it sanityLogic, but you can name it whatever you’d like — just swap the names when appropriate throughout the rest of this project.
Then, we can follow the steps in the README of the next-sanity repo to configure Sanity in our project. That means first creating a /lib folder and adding a few files, starting with lib/config.js:
// lib/config.js
export const config = {
    dataset: 'production',
    projectId: process.env.NEXT_PUBLIC_SANITY_PROJECT_ID,
    apiVersion: '2021-10-21'
};
And a sanity.server.js in the same folder for build-time logic, like getting our instance of the Sanity client:
// lib/sanity.server.js
import {createClient} from 'next-sanity';
import {config} from './config';

export const sanityClient = createClient(config);
export const getClient = () => sanityClient;
Definitely check out that README for the commented code and full explanations — I’m changing a few things here for my use-case. I’m also looking over another one of Sanity’s helpful guides, specifically the content modeling page. There I found our next step: defining our types in a special schema file. Let’s start with just one, the Project type:
// sanityLogic/schemas/schema.js
import createSchema from 'part:@sanity/base/schema-creator'
import schemaTypes from 'all:part:@sanity/base/schema-type'

export default createSchema({
    name: 'baseSchema',
    types: schemaTypes.concat([
        {
            title: "Project",
            name: "project",
            type: "document",
            fields: [
                {
                    title: "Name",
                    name: "name",
                    type: "string"
                },
                {
                    title: "Summary",
                    name: "summary",
                    type: 'array',
                    of: [{type: 'block'}]
                },
                {
                    title: "What They Do",
                    name: "companyDescription",
                    type: 'array',
                    of: [{type: 'block'}]
                },
                {
                    title: "What I Did",
                    name: "jobDescription",
                    type: 'array',
                    of: [{type: 'block'}]
                }
            ]
        }
    ])
});
We’ll add another type to that array in a bit for the technologies I am familiar with. Before that though, let’s deploy the new schema and do a bit of testing to make sure our data pipeline is working from end to end:
cd sanityLogic
sanity deploy
cd ../
npm run dev
Now, when I go to my Sanity Studio page (which I set up during the first sanity deploy), I get the option to create a new object of the type Project, and the currently-empty list of the objects I’ve created this way. Let’s add our first.
Perfect! Now that we have something to query, let’s build a URL and try to access it through Sanity’s HTTP API. Here’s the URL template we need to fill out:
https://<projectId>.api.sanity.io/v2021-06-07/data/query/<dataset>?query=<GROQ-query>
To fill this out, you’ll need:
- your project ID, which can be found on sanity.io once you click on your project. It should be right underneath the name of your project, in between its current status and the link to Sanity Studio.
- your dataset name, which you created during the
sanity initcommand. The default wasproduction, if you didn’t set one yourself. - a GROQ query, which might take a moment to wrap your head around, but Sanity has a helpful guide on this. For now, let’s just query every project using this query:
*[_type == "project"]
And now, when we fill out the URL and run a GET request with it, we get back the data we inputted earlier:
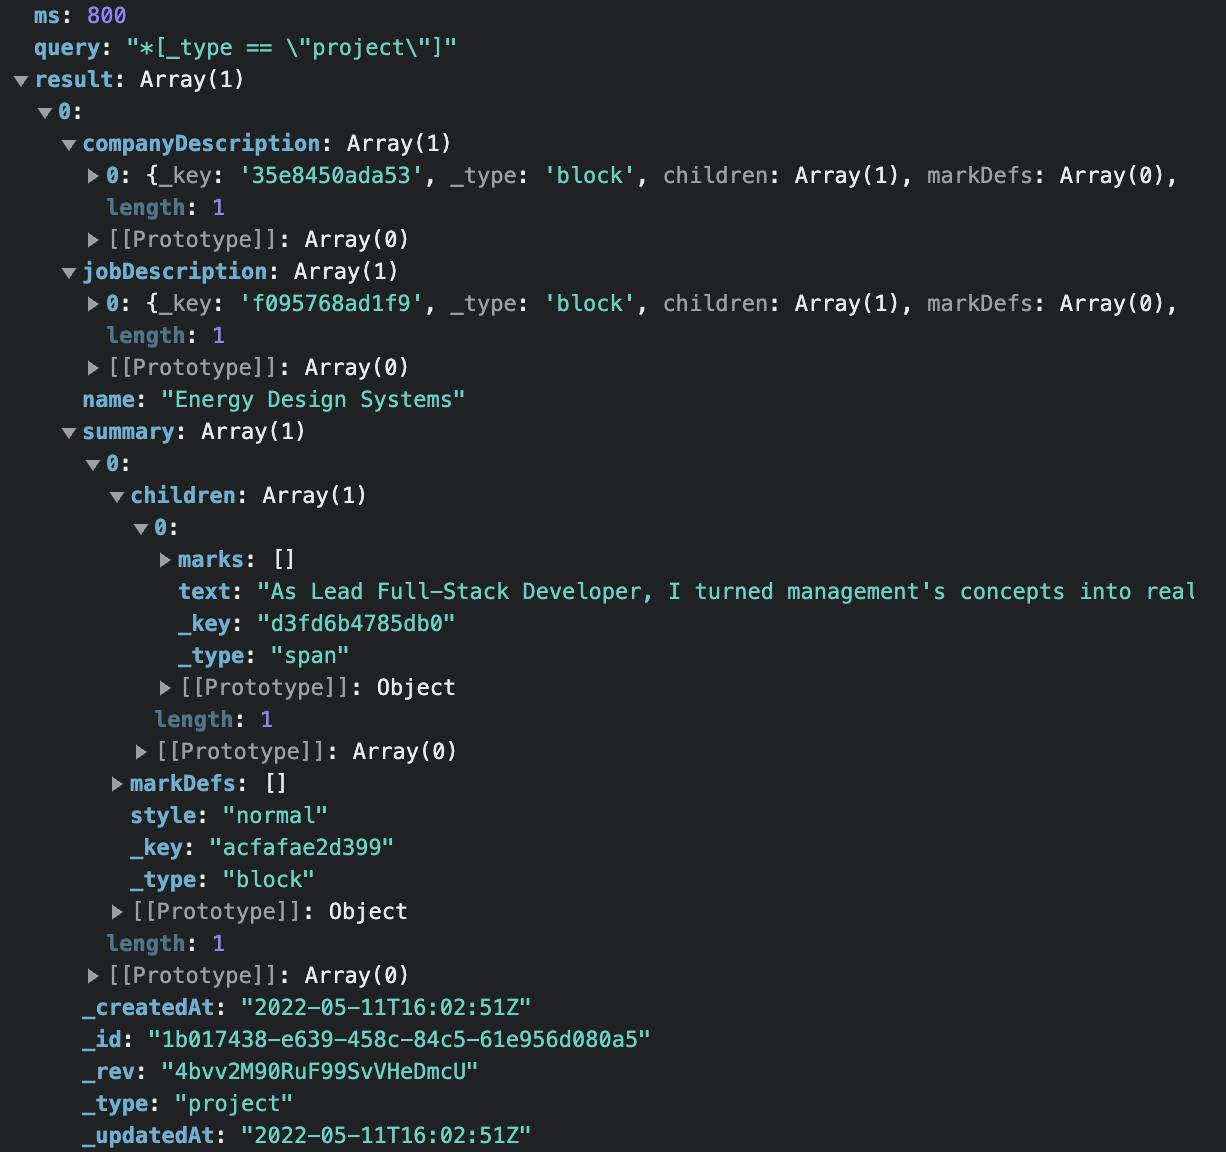
Retrieving that data in our application
OK, so here’s a little conundrum. We’ve uploaded our schema using the Sanity CLI, but my website doesn’t pre-render everything because these “pages” are actually just components that render inside my own custom “browser window”... remember this?
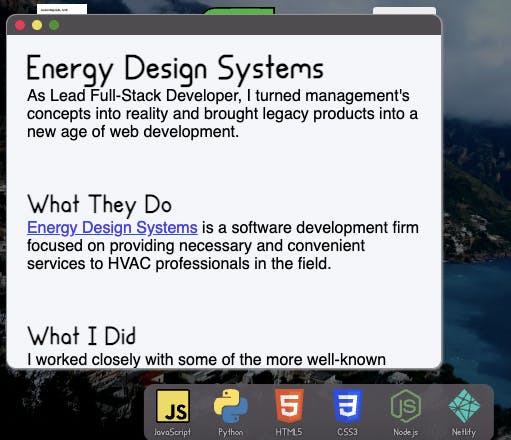
The best solution here (but feel free to correct me on Twitter) seems to be client-side rendering. Every time we load up another one of these windows, it’ll dynamically load the content from Sanity using that URL we created above. So step one:
npm install [node-fetch](https://www.npmjs.com/package/node-fetch) @portabletext/react
Step two is writing a little function to retrieve the data from Sanity through the HTTP API. Inside the useEffect hook of my Window component:
// this takes place inside an if block that just makes sure I'm on a page where
//     I want to dynamically load content. Don't wanna do that in Finder :D
const query = `*[_type == "project" && name == "${page}"][0]{
    companyDescription,
    jobDescription,
    name,
    summary
}`;
fetch(
    `https://${process.env.NEXT_PUBLIC_SANITY_PROJECT_ID}.api.sanity.io/v2021-06-07/data/query/production?query=${encodeURIComponent(query)}`
).then(async response => {
    const json = await response.json();
    console.log(json.result);
    setWindowData(json.result);
});
This piece of code just creates the right query for the data belonging to this page and sends it to the right endpoint, setting the results into a state variable.
I could then pass that state data into a template like this:
// at the top of the file, import the library we npm installed a couple paragraphs back
import { PortableText } from '@portabletext/react';

/* ... */

// my template
<div className={styles.projectContainer}>
    <h1>{json.result.name}</h1>

    <div id={styles.summary}>
        <PortableText value={json.result.summary} />
    </div>

    <h2>What They Do</h2>
    <div id={styles.companyDescription}>
        <PortableText value={json.result.companyDescription} />
    </div>

    <h2>What I Did</h2>
    <div id={styles.jobDescription}>
        <PortableText value={json.result.jobDescription} />
    </div>
</div>
... and with a little CSS, we’re back where we started, except with the data now coming from Sanity except baked into the code.
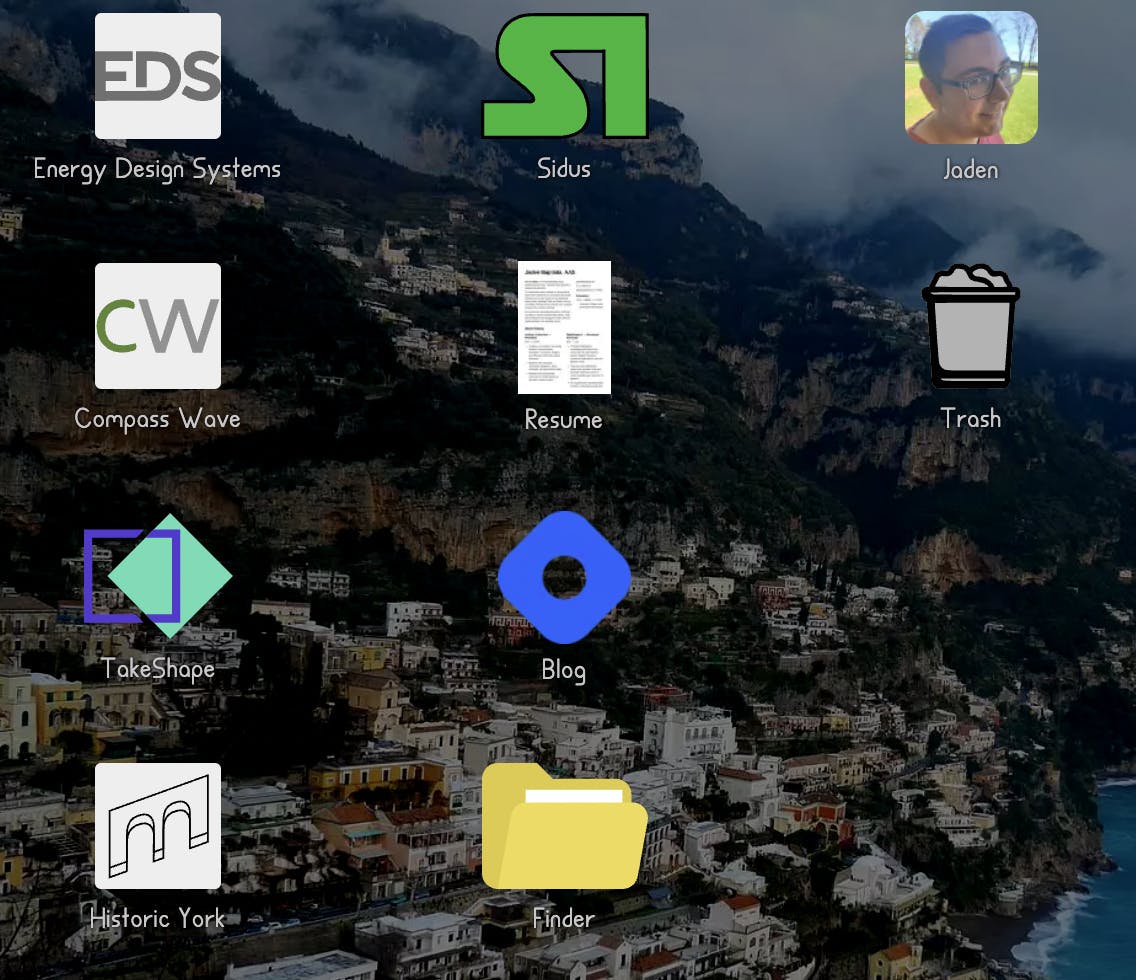
I’m just going to propagate these changes to all of the projects I’ve worked on by creating a Sanity record for all of them. I’ll also add a little piece of code that loads the full list of projects on the Desktop and displays them without needing them hardcoded into the Desktop component. Now, all of my relevant projects are pulled from Sanity at runtime and placed in the Desktop grid like this:
We could call it there — I’ve successfully used Sanity to store all the data about my previous portfolio. But then I read back through this article… remember this?
We’ll add another type to that array in a bit for the technologies I am familiar with.
This is a good opportunity to review what we’ve learned in this little exploration today! Let’s go over the basic steps again:
- Decide what information is part of the new object; in this case, we’re talking about a single
Technology. Add to the types array in
sanityLogic/schemas/schema.jsto define the newTechnologytype.// imports... export default createSchema({ name: 'baseSchema', types: schemaTypes.concat([ // ... Project type { title: "Technology", name: "technology", type: "document", fields: [ { title: "Name", name: "name", type: "string" }, { title: "Summary", name: "summary", type: 'array', of: [{type: 'block'}] }, { // fun little easter egg, the technologies used in // building this site get the Mac "open" dot title: "Used on this website", name: "usedhere", type: 'boolean' } ] } ]) });Run the console commands to deploy the new schema.
 cd sanityLogic
 sanity deploy
Visit your Sanity Studio (the link of which is revealed by the
deploycommand if you have forgotten it). Click the button for creating a new document, select the newTechnologytype, and fill in the blanks.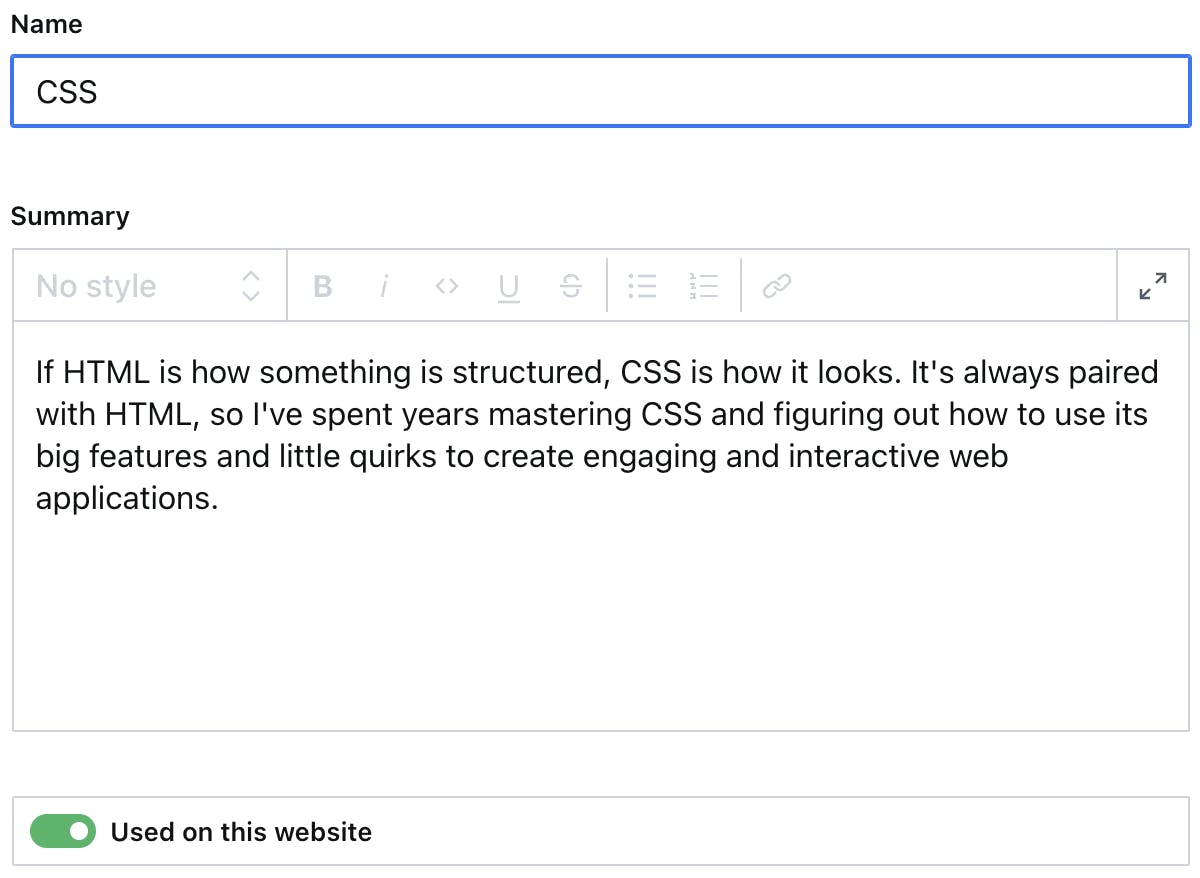
Rinse and repeat for all the technologies I work with.
- Anywhere where I need a list of the technologies from Sanity, fetch that list using a query like this:
[_type == "technology"]{ name, usedhere } - Inside the
Technologycomponent, which is displayed whenever we click on a technology icon and is given the name of the icon we clicked on (which originally came from Sanity in step 6), ask Sanity for more details and load them into the component withPortableText. - Commit and push with Git and call it a day because you’ve got a meeting in 5 minutes.
So what do you think? Once we’re set up with Sanity, it’s not too difficult to create your schema, populate your content lake with tons of data, and query it from your project for display. It took a little bit of setup, but I was able to fit the tool to my usecase with only a couple docs articles and a GitHub README. If you’re thinking about integrating Sanity into your existing project, I imagine your experience will be much the same! Let me sum up a few things I learned that made me want to keep using Sanity:
- It’s super powerful — I didn’t get into the weeds on structured text or really anything to do with image transformations or their deeper JavaScript integration.
- You aren’t forced to work with all that power — I got exactly the amount of power I needed out of the
PortableTextlibrary and the HTTP API. - Sanity Studio — This is a great way to visualize your data as if Sanity was a simple CMS while still having access to the features that make it not a simple CMS.
If you’re looking to get started, here are a few good resources: